“My printer rejected my file because of poor image quality. But it looks fine on my computer. WTF?”
It’s a common complaint, most frequently solved by accepting the error and crossing your fingers that the proof copy will be fine. It won’t. Your head shot will vary from slightly fuzzy to completely blurry.

Crisp vs Blurry
Why?
It’s all to do with pixels and dots. Both are very tiny bits of colour used to compose images. When you lay pixels or dots in a grid pattern you get resolution, pixels per inch (PPI) and dots per inch (DPI) respectively.
Let me show you what I mean.
Close-up of Computer Pixels
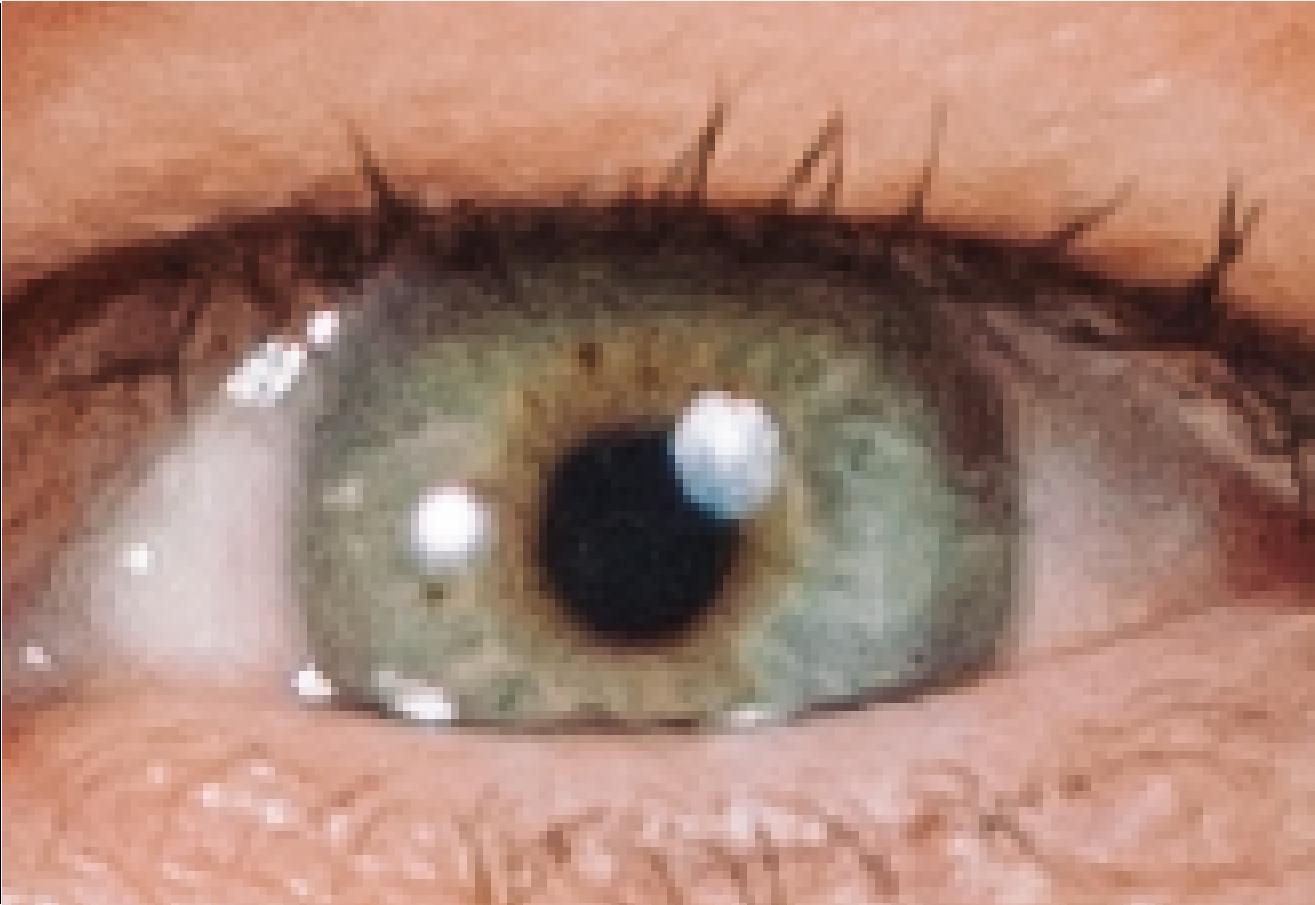
Computers use pixels…
to compose an image for you to view. If you look very closely… even closer than that… you’ll see tiny squares of colour on your computer screen. Each square changes colour according to the image on display. For most computers, the resolution is 72 PPI, though newer devices are closer to 100 PPI.
Look at the highlights in the big green eye; you can see the pixels that comprise the image. That’s my left eye, taken by Tom Smarch at 2015 RWA Nationals.
Printers use dots…
to compose an image for printed matter. This photo, courtesy of Wapcaplet via Wikimedia, shows little round dots of colour. When you hold the paper at reading distance, the dots blend to form a colour image. You can see dots when you use a magnifying glass on a newspaper.

Close-up of Printer Dots
Pixels are converted to dots…
when you send an image from your computer to your printer. PPI are converted to DPI using a formula that involves LPI (lines per inch). If you want to know more, watch this in-depth video by Myron Achtman on YouTube or hop over to your favourite search engine and search “ppi vs dpi”.
Get the Right Resolution
Printers wants a minimum of 300 PPI to ensure conversion to a high-quality printed book.
So how do you get 300 PPI in your image?
The best option is to take the photo with a camera that allows you to set the resolution of the image captured. Check the user guide.
If you’ve scanned an existing photograph, change the resolution setting on the scanner, and re-do the scan. Check the user guide.
The next option is to adjust the resolution, after downloading the image from your camera, by using an image manipulation tool like Photoshop or GIMP. This doesn’t give wonderful results but it’s better than nothing. Don’t have a photo tool? Ask your friendly formatter to adjust your images. 🙂
Resizing in Word, or any other document app, only alters the size, not the resolution. Images must have a resolution of 300 PPI before being inserted into a document.
What About Text?
Just like images, text is displayed at whatever PPI your computer uses. When you create the PDF file, you want really high DPI to make those small closely-spaced letters smooth and legible. Select “High Quality Print” as your PDF print option. This should give you a resolution of 2400 DPI that meets printer standards.
Why It Matters to Writers
Most readers don’t care who publishes their favourite books. They do care about legibility. If they can’t read your story, they’re gone. Readers also care about connecting with the author. If your head shot is blurry, your readers can’t “look you in the eye”. With a crisp head shot, your readers will know you when they meet you. Such a good thing.
© 2016 Joan Leacott

Reblogged this on Gina X. Grant and commented:
I did not know exactly how this worked. Thanks, Joan.
LikeLike
You’re welcome, Gina. Thanks for stopping by. 🙂
LikeLike